Drone planning guide
How to scout drone photo spots without confusing a location with permission
A subject-first drone photo location scouting workflow for shot intent, maps, scale, access, light, weather, and current official checks.
Scout drone photo spots by choosing the image first, finding subjects on maps or lists, testing their scale, checking practical access, planning the light, reviewing weather, and then consulting current official sources. Keep two decisions separate: a subject may be worth photographing while the launch point, operating conditions, or required permission still make that particular plan unsuitable.
This guide is a scouting method, not permission for a flight or a substitute for the responsible authority, land manager, property owner, or your own pre-flight assessment.
The rule that prevents the biggest scouting mistake
A beautiful pin answers one question: might this subject make a photograph? It does not answer: may I carry out this flight from this place at this time?
That distinction applies to every source of inspiration: a map marker, a photograph, a saved list, a viewpoint label, a social post, or a FlyWindow Spot. A FlyWindow Spot is a photographic subject worth scouting. It is not permission to fly, an access claim, a legal verdict, or proof of current restrictions.
Treat your plan as two parallel tracks:
| Creative track | Verification track |
|---|---|
| What is the subject? | Where could the pilot stand and launch? |
| What image are you trying to make? | Who manages or owns that place? |
| From which direction should the camera see it? | Which current official source applies? |
| What subject scale and background will work? | Are any approvals, notices, permits, or local conditions relevant? |
| What light and weather support the image? | Does the plan still work after an on-site check? |
Do not merge the columns into one green tick. Complete both.
A subject-first workflow for scouting drone photo locations
1. Write the shot intent before searching for a place
Start with one sentence that describes the photograph, not the destination:
A three-quarter view of a stone bridge at sunrise, with the river forming a leading line and side light revealing the arches.
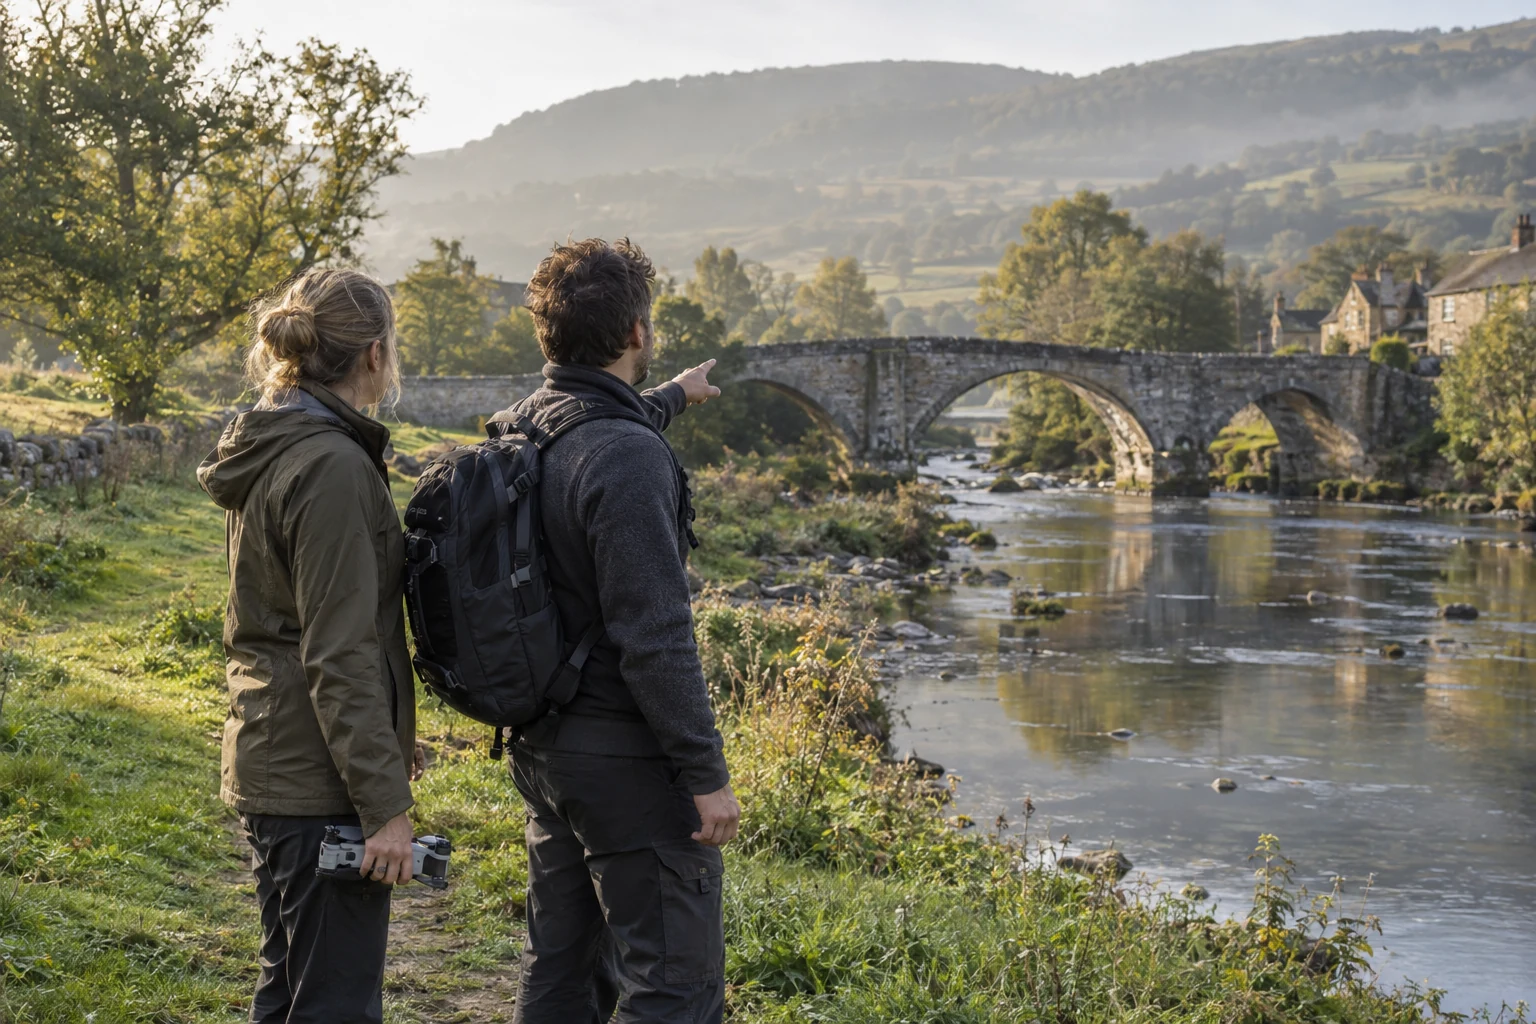
That sentence gives you selection criteria. “Stone bridge” defines the subject. “Three-quarter view” suggests a camera side. “River as a leading line” defines context. “Sunrise” and “side light” define timing and direction.
A short shot list prevents the search from turning into unrelated pins. Adobe’s planning guidance likewise begins with a goal, then uses mapping, a visit at the intended time, and a shot list.[1]
Record four fields:
- Subject: the visual anchor, such as a bridge, tower, coastline, quarry, church, or geometric field.
- View: top-down pattern, oblique reveal, orbit-style sequence, compressed layers, approach, or environmental wide shot.
- Background: water, skyline, hills, road geometry, open ground, or negative space.
- Light: front, side, back, soft overcast, sunrise, sunset, or blue-hour transition.
2. Discover subjects with a map and a list
Use a map for spatial relationships and a list for comparison. Search broad categories first: bridges over bends in a river, towers with open surroundings, headlands, industrial geometry, ruins, viewpoints, beaches, or isolated landmarks. Then switch between map, satellite imagery, terrain, ordinary ground photographs, and any available credited aerial photographs.
Look for visual evidence rather than popularity:
- a distinctive footprint;
- strong lines, curves, repetition, or symmetry;
- separation from nearby clutter;
- a background that supports the subject;
- more than one plausible viewing direction and enough surrounding space for the frame.
Nikon’s composition guide recommends identifying the actual subject first, then using tools such as leading lines, curves, patterns, textures, and placement in the frame to strengthen it.[2] Those cues are useful at the scouting stage because they tell you what to seek on the map.
Save candidates as subjects, not takeoff pins. A castle marker may represent the thing you want to photograph while the workable observation and launch area, if one exists, may be elsewhere. Keep the subject coordinate and any possible ground position as separate notes.
FlyWindow's dedicated photo-Spots overview is planned but not yet published. It will explain how the app helps compare photographic subjects without turning a spot into a permission claim.
3. Test whether the subject reads at aerial scale
A subject can be impressive on the ground yet disappear in an aerial frame. Test it at three scales:
- Detail scale: Is there a roof pattern, facade rhythm, curve, texture, or structural feature that remains legible?
- Subject scale: Can the whole subject separate from its surroundings?
- Landscape scale: Does the subject still anchor the frame when the river, coast, town, or terrain is included?
Use map measurement and existing photographs to sketch the composition. Do not infer a flight height from a reference image. Ask whether a lower, wider perspective could tell the story and how the background changes from each side.
Check for scale traps: narrow structures hidden by trees, viewpoints whose attraction is the view rather than the viewpoint itself, small ruins under canopy, a bridge visually merged into roads, or a landmark surrounded by taller buildings. Mark uncertain candidates for a ground visit rather than promoting them to a finished plan.
4. Separate access from the subject
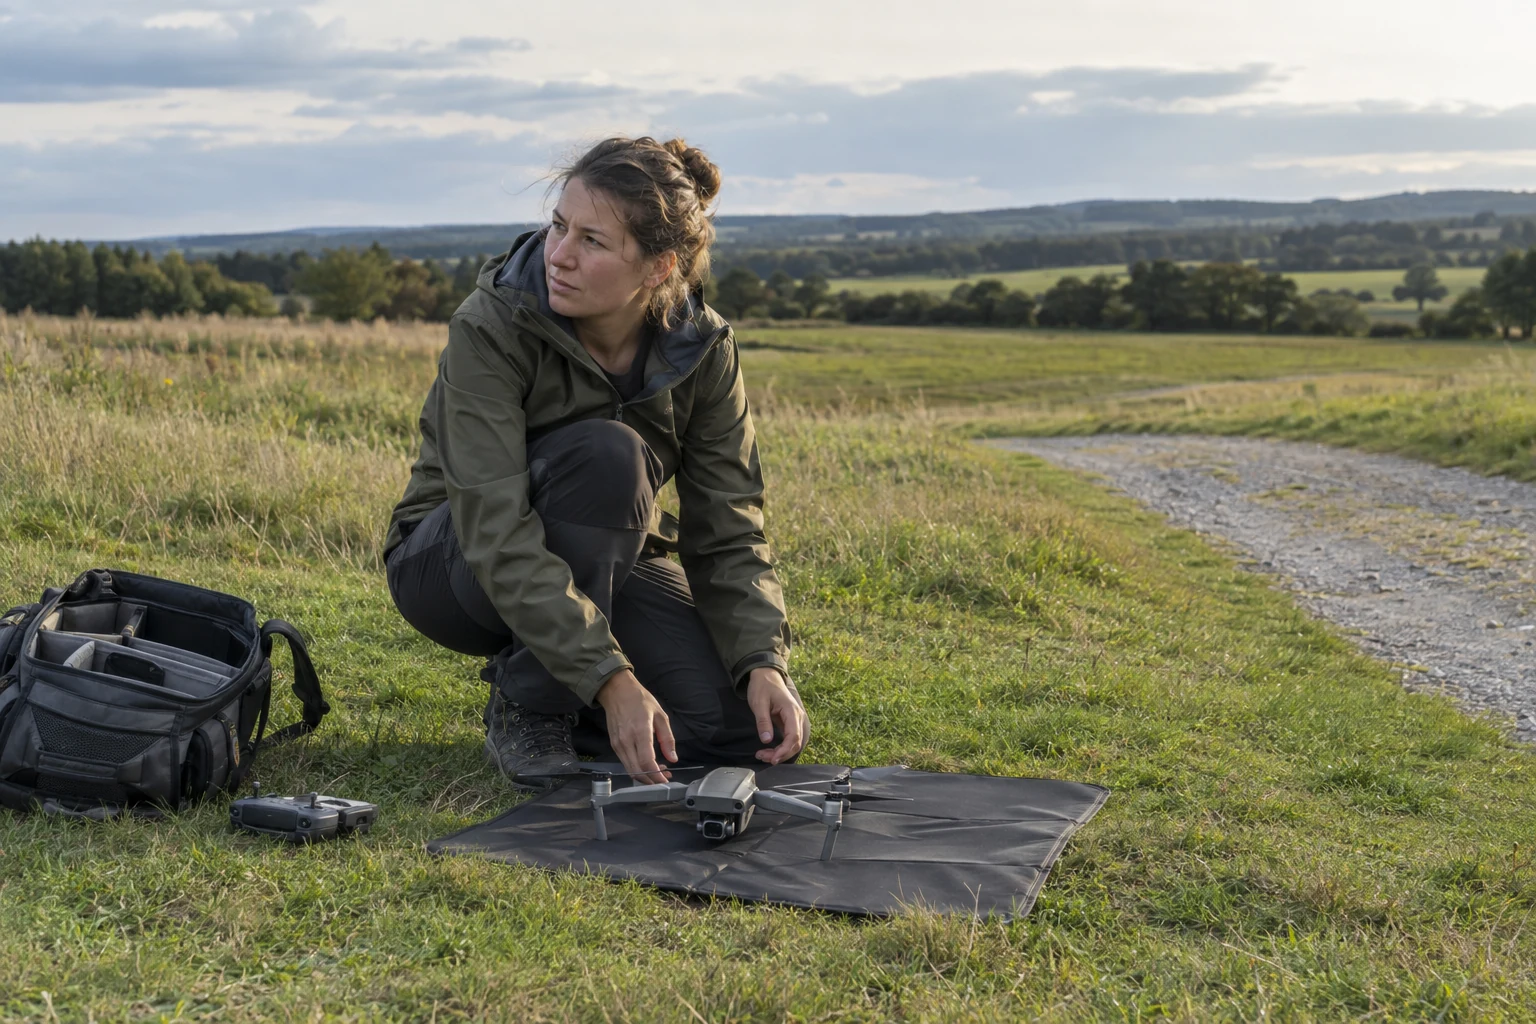
Now draw the ground plan. Identify possible places to arrive, stand, launch, maintain an unobstructed view, and recover the aircraft. Ask who owns or manages each one. Check hours, gates, seasonal closures, events, construction, paths, crowds, and whether you need the owner’s or manager’s agreement.
The UK Civil Aviation Authority explicitly tells pilots to make sure the person or organisation owning the property allows takeoff and landing there.[4] That is a useful illustration of the wider principle: seeing a subject from public mapping does not establish ground access.
Land-manager conditions can also be independent of national aviation requirements. In the United States, for example, the National Park Service says its general policy applies to launching, landing, and operating from NPS-administered lands and waters, with limited exceptions, and advises checking the specific park website.[7] The point is not to generalise that policy to other places; it is to check the actual manager for the actual ground you intend to use.
A desk check cannot reveal everything. On arrival, inspect the full area, including overhead. The UK CAA advises surveying all directions and looking for difficult-to-see obstacles such as wires, cables, netting, and fencing.[8] Reassess people, animals, traffic, vegetation, terrain and a contingency area. If the ground reality breaks the plan, keep the subject for another approach or day.
5. Plan the light direction, not just “golden hour”
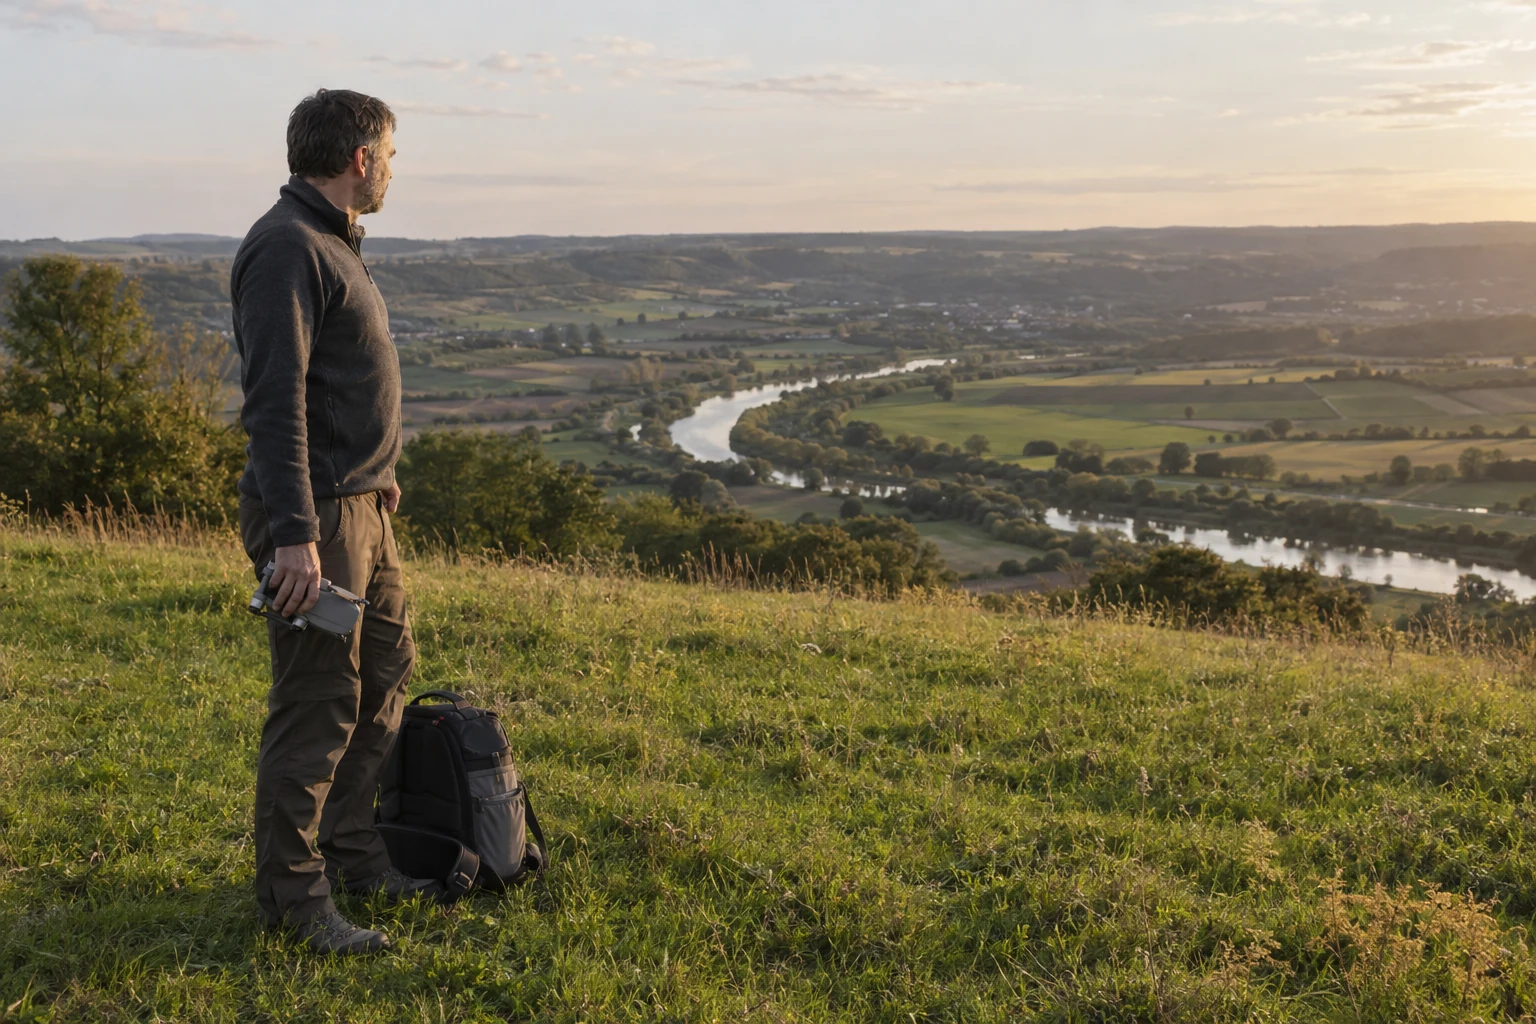
Sunrise and sunset times alone do not tell you which face of a subject will be lit. Plan the sun’s azimuth and elevation for the subject, date, and time.
Azimuth describes the sun’s compass direction; elevation describes its angle above the local horizon.[3] Put both into the shot plan:
- Front light: sun broadly behind the camera; clearer colour and detail, often flatter form.
- Side light: sun across the subject; stronger texture, depth, and long shadows.
- Backlight: sun behind the subject; silhouettes, rim light, haze, or glare may become part of the image.
- Overcast: less directional light; useful when shape and colour matter more than shadow.
Draw the camera bearing and sun direction on the map. Then inspect what lies behind the subject. A sunrise plan fails creatively if the illuminated face is hidden or the background becomes a car park.
Use the golden-hour drone photography guide for a deeper light-planning workflow.
6. Match weather to the image and the aircraft limits
Weather is both a creative variable and an operational input. Review it by hour, not as a single daily icon.
For the photograph, ask:
- Will cloud soften the light or block the intended low sun?
- Will haze hide distant layers or create the depth you want?
- Could rain remove the planned light window?
- Will the wind disturb reflections, foliage, mist, or a long exposure?
For the aircraft and pilot, compare the current forecast with the limits and instructions you use for that aircraft. Review surface wind and gusts, precipitation, visibility, temperature, and changing conditions. Terrain and structures can alter local wind; the UK CAA notes that gust fronts and the funnel effect of ground features can produce unexpected changes.[8]
A forecast supports planning; it does not complete the plan. Recheck close to departure and again on site. Keep a fallback composition for a different light direction or cloud state, and be prepared to stop if observed conditions do not match the plan.
The related drone weather forecast guide explains how to read the hourly values without relying on one colour.
7. Finish with current official sources
Only after the creative plan is coherent should you run the official-source handoff. Use the source for the country and location of the intended operation, not the photographer’s home country and not a generic article.
For EASA Member States, EASA directs pilots to the relevant National Aviation Authority website or listed national planning service and says updated geographical-zone information must be obtained before and during each flight.[5] In the United States, the FAA’s B4UFLY page provides its current directory of approved situational-awareness services and describes the information those services include.[6]
Use this order:
- Open the responsible national aviation authority or its designated current planning service.
- Check the exact location, date, time, operation, and aircraft category or weight where requested.
- Read the underlying condition, notice, or approval route; do not rely only on a colour or pin.
- Check the land manager, property owner, and any site-specific permit process separately.
- Recheck close to takeoff because temporary conditions and notices can change.
FlyWindow provides a country-aware link to a current official source where supported, but it does not copy, interpret, or turn that source into a verdict. If no source is listed, use the responsible authority directly. An official drone-rules-by-country directory is planned but not yet published; its links require a release-time recheck first.
Drone photo location scouting checklist
Creative fit
- I can state the shot in one sentence.
- The subject remains legible at detail, subject, and landscape scale.
- I have a preferred camera side and a fallback composition.
- Lines, patterns, background, and negative space support the subject.
- The sun direction and elevation match the intended light.
- The hourly weather supports the visual treatment I want.
Ground and flight plan
- The subject pin and possible launch area are stored separately.
- I identified the landowner or manager and checked access conditions.
- I checked hours, gates, events, seasonal closures, and likely crowd levels.
- I can maintain the required view of the aircraft from the planned position.
- I will inspect wires, trees, terrain, people, animals, and contingency areas on site.
- I compared forecast conditions with my aircraft instructions and chosen limits.
Current-source handoff
- I opened the responsible official source for this country and exact location.
- I read the condition or notice behind any map indication.
- I checked whether an approval, permit, notification, or other action applies.
- I checked land access separately.
- I will recheck current information and observed conditions before takeoff.
Limitations of desk scouting
Maps can be old. Satellite images may show a different season. A reference photograph may have been made from private land, under a permit, from another type of aircraft, or before conditions changed. Elevation models may miss wires, cranes, trees, temporary structures, and local terrain effects. A weather forecast may change and may not capture the exact wind around a building, ridge, or gorge.
Most importantly, neither a photograph nor a place in a discovery product proves access, permission, or current restrictions. Keep uncertainty visible in your notes. “Needs ground check” is a useful scouting result.
FAQ
Can I fly at a drone photo spot?
A photo spot tells you that a subject may be worth scouting. It does not establish permission, access, or the current requirements for a specific flight. Check the relevant official source, the landowner or manager, the exact location and time, and actual conditions before deciding.
Should I choose the launch point while browsing subjects?
No. Save the subject first. Then investigate possible ground positions as a separate layer. This prevents a convenient map pin from being mistaken for verified access.
Is golden hour always the right time for drone photography?
No. Low sun can add texture or backlight, but it can also put the important face in shadow. Overcast conditions, blue hour, or higher sun may fit the shot better. Plan sun direction and elevation around the image you want.
What should make me reject a candidate during scouting?
Reject or defer it when the subject does not read at aerial scale, the intended background fails, there is no workable ground plan, current official information does not support the intended operation, access is unresolved, or on-site weather and obstacles differ from the plan. Saving the subject for a different approach is still a successful scouting outcome.
Save the subject, then verify the flight
FlyWindow Spots helps you find and save photographic subjects worth scouting, compare them on a map or list, and open the relevant official source where supported. It does not grant permission or replace the checks above.
Explore FlyWindow Spots and save subjects for a later ground and official-source check. FlyWindow is coming to the App Store.
Sources
- Adobe — Preparing your photoshoot — checked 2026-09-14
- Nikon — 5 Easy Composition Guidelines — checked 2026-09-14
- PhotoPills — Understanding Azimuth and Elevation — checked 2026-09-14
- UK Civil Aviation Authority — Where you can fly — checked 2026-09-14
- EASA — Geo-Zones: know where to fly your drone — checked 2026-09-14
- FAA — B4UFLY — checked 2026-09-14
- US National Park Service — Uncrewed Aircraft in the National Parks — checked 2026-09-14
- UK Civil Aviation Authority — Avoiding Terrain and Obstacle Collisions — checked 2026-09-14
Plan with the values visible
See the relevant FlyWindow workflow. FlyWindow is coming to the App Store.